Installing warehouse shelves might seem straightforward—until you’re knee-deep in bolts, misaligned beams, and a crew asking, “Which way does this bracket go?” Done right, a well-organized shelving system can transform your storage space. Done wrong, it risks collapses, wasted time, and costly do-overs. In this step-by-step guide, we’ll walk you through everything from pre-install prep to pro tips for maximizing durability. Whether you’re setting up boltless shelving or industrial pallet racks, this is your blueprint for success.
Pre-Installation Prep: Don’t Skip These Steps
1. Review Building Codes and Load Limits
Before touching a single beam, check:
- Floor Load Capacity: Concrete floors typically handle 2,500+ lbs/sq ft, but older warehouses may need reinforcement.
- Local Regulations: Some areas require permits for heavy-duty warehouse shelves or mezzanines.
- OSHA Compliance: Aisles must be wide enough for equipment and workers (e.g., 36” minimum for pedestrian traffic).
2. Map Your Layout
Use warehouse management software (WMS) or graph paper to plan:
- Aisle Widths: Match to equipment (e.g., 8–10 ft for narrow-aisle forklifts).
- Golden Zones: Place high-turnover items at waist-to-shoulder height.
- Emergency Exits: Keep pathways clear and mark them visibly.
3. Gather Tools and Materials
- Basic Toolkit: Impact wrench, level, rubber mallet, measuring tape.
- Shelving Components: Uprights, beams, braces, decking (wire mesh or particleboard).
- Safety Gear: Gloves, hard hats, steel-toe boots.
Step-by-Step Installation Guide
Step 1: Assemble Upright Frames
Uprights are the backbone of your warehouse shelves. Follow these steps:
- Lay Out Components: Sort uprights, base plates, and cross braces.
- Attach Base Plates: Secure to the uprights with bolts or pins (depending on design).
- Add Cross Braces: These prevent swaying—tighten diagonally for stability.
Pro Tip: Label uprights with their location (e.g., “A1,” “B2”) to avoid confusion later.
Step 2: Position and Anchor Uprights
- Mark Floor Positions: Use chalk or painter’s tape to outline where each upright will go.
- Hoist Uprights: Lift frames into place with a forklift or team lift.
- Anchor to Floor:Concrete Floors: Drill holes and install anchor bolts or epoxy-set studs.Raised Docks: Use shims to level frames on uneven surfaces.
Warning: Never skip anchoring—unsecured shelves tip over under load.
Step 3: Install Beams and Decking
- Attach Beams: Slide beams into the upright slots at desired heights. Secure with locking pins or bolts.
- Check Level: Use a laser level to ensure beams are even (even a 1° tilt can cause load shifts).
- Add Decking: Lay wire mesh, plywood, or metal sheets across beams. Secure with clips or hooks.
Pro Tip: Leave a 6” overhang on decking for easier pallet loading.
Step 4: Reinforce and Inspect
- Install Safety Pins: These prevent beams from dislodging if bumped.
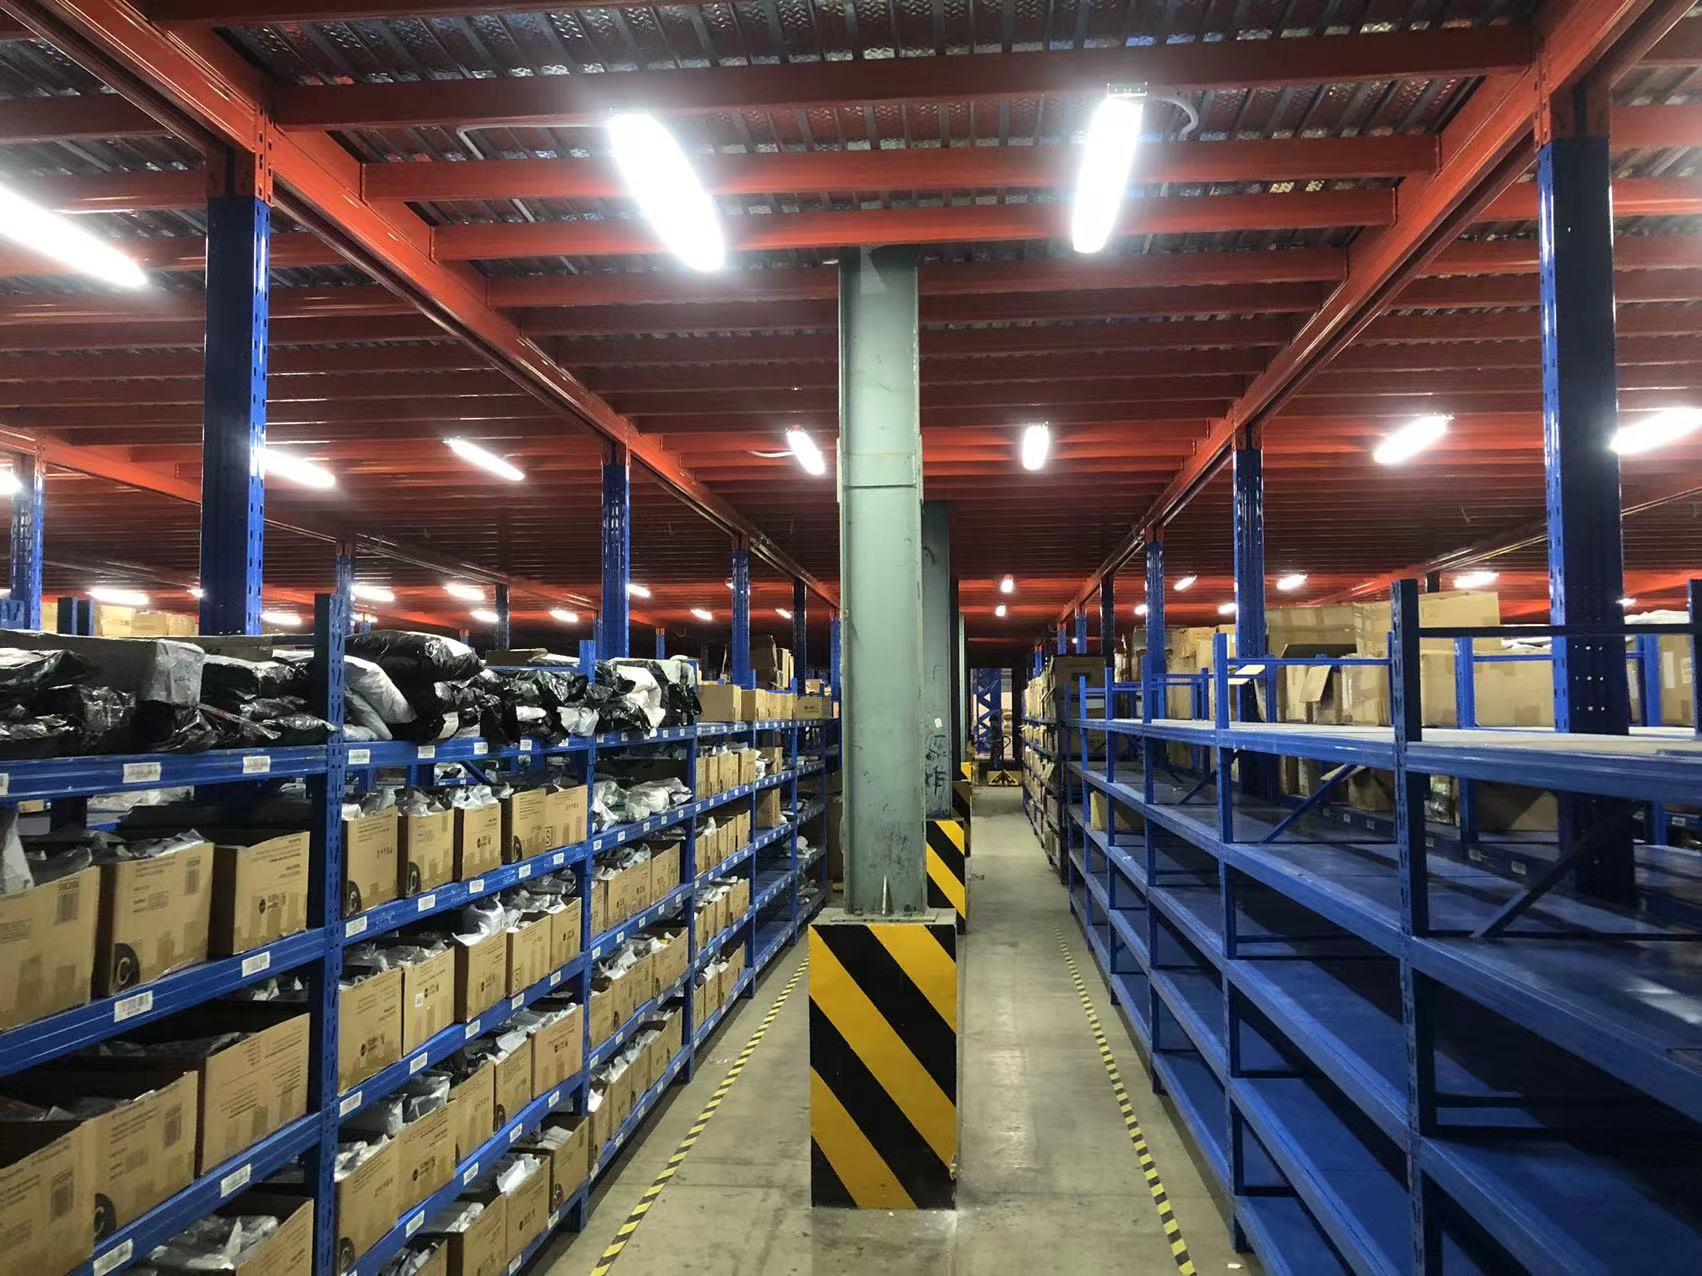
- Add Column Protectors: Guard uprights against forklift collisions.
- Double-Check Connections: Tighten all bolts and confirm no components are loose.
Common Installation Mistakes (And How to Avoid Them)
1. Ignoring Load Ratings
- Mistake: Overloading shelves beyond their capacity.
- Fix: Calculate total weight per shelf (items + containers) and stick to limits.
2. Uneven Flooring
- Mistake: Installing shelves on sloped or cracked floors.
- Fix: Use adjustable base plates or pour self-leveling concrete.
3. Poor Spacing
- Mistake: Shelves too close together, blocking airflow or access.
- Fix: Follow the “6-inch rule”—leave space between walls and shelves for ventilation and pest control.
4. Skipping Safety Checks
- Mistake: Assuming “good enough” without stress-testing.
- Fix: Load a test weight (10–20% above max capacity) and monitor for shifts over 24 hours.
Post-Installation: Maximizing Shelf Lifespan
1. Regular Maintenance
- Inspect bolts and braces quarterly for rust or looseness.
- Lubricate adjustable components annually.
2. Relabel as Needed
- Update labels when reorganizing inventory.
- Use color-coded tags for hazard zones (e.g., red for fragile items).
3. Retrain Staff
- Teach proper loading techniques (e.g., heaviest items at the bottom).
- Enforce no-climb rules—provide ladders or rolling staircases instead.
Case Study: How a 3PL Warehouse Cut Installation Time by 50%
- Problem: A third-party logistics company took 3 weeks to install pallet racks, delaying client onboarding.
- Solution: They pre-assembled uprights offsite and used laser-guided forklifts for precision placement.
- Result: Installation finished in 10 days, with zero alignment errors.
Advanced Tips for Complex Systems
1. Mezzanine Integration
- Hire a structural engineer to assess load-bearing walls.
- Use bolt-together mezzanine kits for easier future modifications.
2. Automated Systems
- Leave space for conveyor belts or AMRs (Autonomous Mobile Robots).
- Install reinforced beams to handle robotic arm vibrations.
3. Climate Control
- In cold storage, use galvanized or epoxy-coated warehouse shelves to resist condensation.
- Avoid wood decking—it warps in humidity.
When to Call a Professional
DIY works for light-duty shelving, but hire experts for:
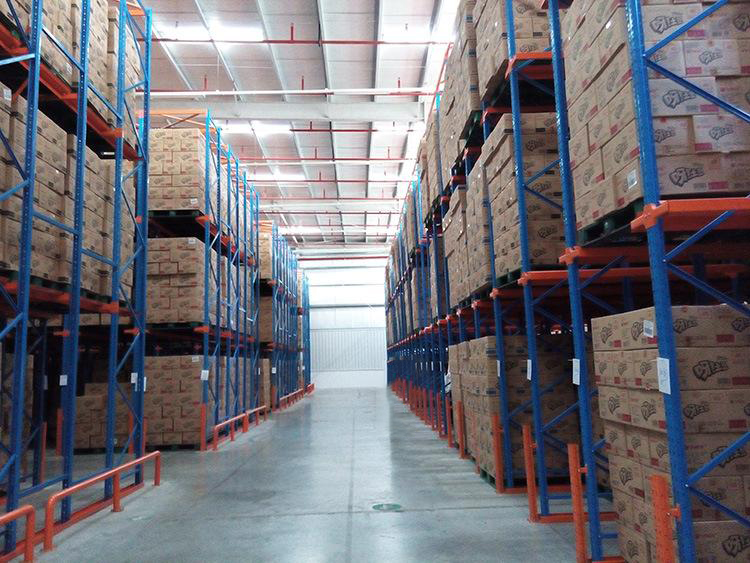
- High-Density Systems: Drive-in racks or AS/RS installations.
- Seismic Zones: Requires specialized anchoring and bracing.
- Multi-Tier Layouts: Mezzanines over 10’ tall often need permits and engineering sign-offs.
The Ultimate Guide to Installing Warehouse Shelves
Installing warehouse shelves isn’t just about nuts and bolts—it’s about building a foundation for efficiency and safety. By planning meticulously, avoiding common pitfalls, and maintaining your system, you’ll create a storage solution that grows with your business. Now grab that wrench and get to work!